This is the way I've been doing it for years. I never post it before, thinking that, with all those handy tools, I have nothing to share about. But, I was asked to explain my way of cutting strips...So, for all of you who can't get precut paper or just want to see how it works...Here is a little tutorial as my due to all fellow quillers...
1. Drafting table; it's classic drafting table with ruler who can easily move up and down with a great precision, changing its angle.
2. Thanks to my neighbor Peter who supplies me with stainless steel. metal sheet, I place it under the ruler.
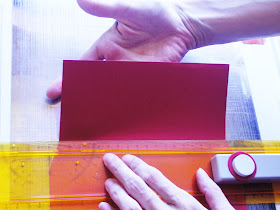
3. Place a paper, align it with ruler.
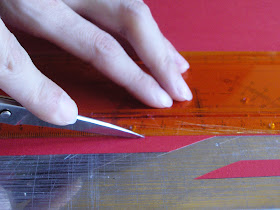
4. Move the ruler to the left as much as you prefer ( I use 2 and 3mm strips ). Use scalpel for cutting. Repeat it many, many times :)
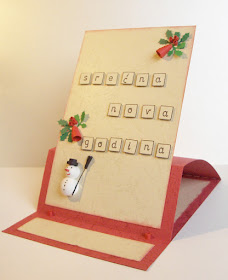
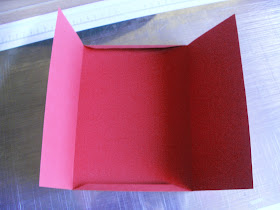
5. I also use my drifting table for making base for cards and envelops. Since I don't have standard card size, I always need different size of envelops. I make them by myself because I love to have them in the same color as my cards. One part of paper I cut with scalpel and the other one fold with scissors.
6. Fold it with finger, too.7. Change an angle and fold it again.
8. This is how my handmade envelop looks like when it's finished. Little tape or glue and it's done.
 9. Sometimes I need perforator. The best way is to place it close to the ruler and move that little red thing...
Guillotine
1. Again, it's standard guillotine but it was useless till my guys fixed.
2. It has plastic which keeps paper firmly. You have to press it really hard so I have to ask one of my guys to do it for me ( that's why I rarely use it ). 3. Here is the thing: those metal L shaped sheets are screwed to wooden pieces. Can be changed it distance from guillotine and make your own width of paper you prefer.
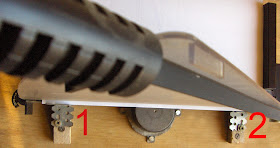
4. One the limiters are on their places, put a sheet of paper close to limiters, press plastic and cut it.
Hope I helped!!!


